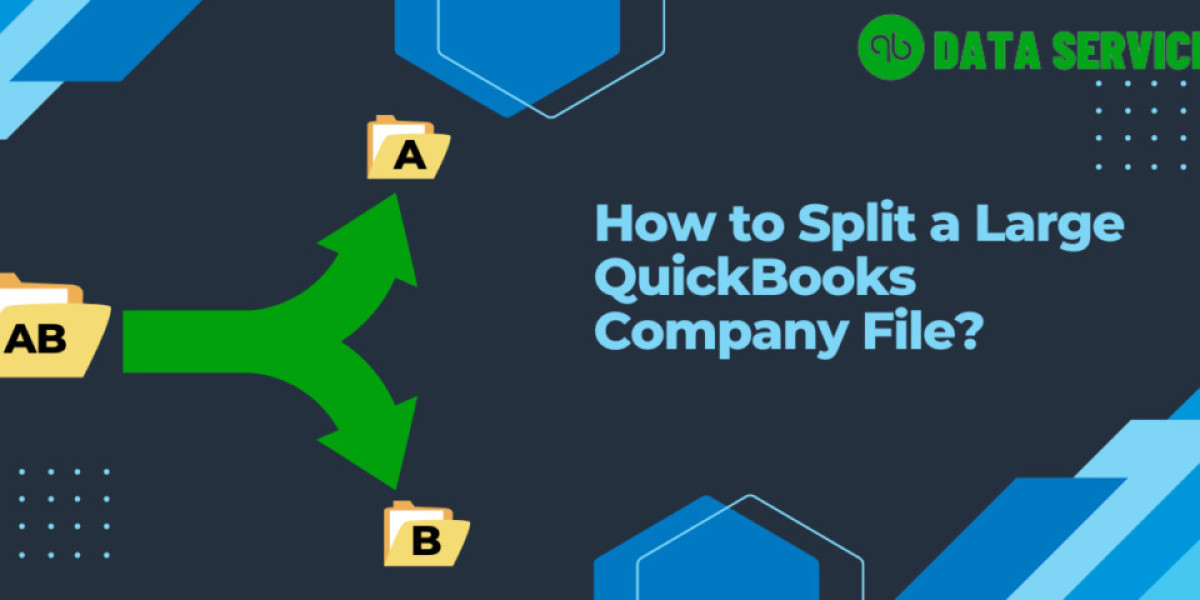
As businesses grow, so do their financial data, often resulting in large QuickBooks company files. While QuickBooks is a robust accounting software, working with excessively large company files can slow down its performance, leading to frustration and inefficiency. One of the most effective ways to resolve this issue is by splitting the large company file into smaller, more manageable parts. This process not only enhances performance but also reduces the risk of file corruption.
In this blog, we’ll walk you through the steps involved in splitting a large QuickBooks company file, discuss the importance of doing so, and provide practical tips for maintaining optimal performance in QuickBooks. If you’re facing issues with file size or need assistance with the process, QB Data Service is here to help! You can contact us anytime at +1-888-538-1314 for professional support.
Find out more: Effective Solutions For QuickBooks Error Code 6010, 100
Why Should You Split a Large QuickBooks Company File?
As your company file grows, QuickBooks may exhibit slower response times, longer load times, or even errors like file corruption. The size of your QuickBooks company file depends on the number of transactions, the amount of historical data, and the features you use, such as inventory tracking.
Here are some key reasons to consider splitting your large QuickBooks company file:
Improve Performance: Large company files take longer to load and process, leading to slower performance. Splitting the file can enhance the speed and responsiveness of QuickBooks.
Reduce File Corruption Risk: The larger the company file, the higher the chances of corruption. By splitting the file, you can minimize the risk of data corruption or loss.
Compliance with File Size Limits: While QuickBooks Desktop Pro and Premier can handle company files up to around 150MB, and QuickBooks Enterprise supports up to 1GB, exceeding these limits can lead to serious performance issues.
Easier Data Management: With smaller files, it’s easier to back up, restore, and manage your financial data without fear of errors or crashes.
Step-by-Step Guide to Splitting a Large QuickBooks Company File
Splitting your QuickBooks company file involves condensing historical data and creating a new, smaller company file. Follow these steps to split your file effectively.
Step 1: Check the Current File Size
Before starting the process, you need to determine the size of your existing QuickBooks company file. To check the file size:
- Open your company file in QuickBooks.
- Press F2 or Ctrl + 1 to open the Product Information window.
- Look for the File Size section and note the size of the file.
If the file size exceeds the recommended limits (150MB for Pro/Premier and 1GB for Enterprise), it’s time to consider splitting the file.
Step 2: Create a Backup of Your Company File
Before making any changes to your QuickBooks company file, it’s essential to create a full backup to prevent data loss. Here’s how:
- In QuickBooks, go to the File menu.
- Select Back Up Company and then Create Local Backup.
- Choose Local Backup and click Next.
- Follow the prompts to save the backup file to a safe location.
Step 3: Condense Your Data
QuickBooks Desktop offers a Condense Data utility that allows you to remove older transactions while retaining important financial data. This feature helps reduce the size of your company file.
Go to the File menu and select Utilities.
Choose Condense Data.
You’ll be presented with options to either Remove the audit trail or Remove transactions prior to a specific date. Choose the option that best suits your needs.
- If you select Remove the audit trail, it will reduce the file size without removing any financial transactions.
- If you choose to Remove transactions prior to a date, be sure to select a date that will keep your current financial data intact while condensing older transactions.]
Follow the on-screen instructions to complete the process.
Check out more: Fix QuickBooks Error 81264 with Effective Methods
Step 4: Create a New Company File
After condensing your data, you may still want to split the remaining information into smaller files. For instance, you could create one file for the current year and another for historical data. Here’s how:
- Go to the File menu and select New Company.
- Choose the Express Start option to create a new, empty company file.
- After setting up the new company, import the relevant data from your original file into this new one.
You can repeat this process to create multiple company files, each containing different parts of your financial history.
Step 5: Import Lists into the New File
After creating the new company file, you’ll need to import essential lists, such as customers, vendors, and items, into the new file:
- In your original company file, go to File and select Utilities, then Export.
- Choose Lists to IIF Files and select the lists you want to export.
- In your new company file, go to File and select Utilities, then Import, and choose IIF Files.
- Import the lists into the new file to maintain consistency across all records.
Step 6: Rebuild Your Data File
After splitting and condensing your QuickBooks company file, it’s essential to ensure the integrity of the new files. QuickBooks provides a Rebuild Data tool to help with this:
- Go to the File menu and choose Utilities.
- Select Rebuild Data.
- Follow the on-screen prompts to complete the rebuild process.
This tool checks for any data issues in the new company file and repairs them automatically.
Tips for Maintaining Optimal QuickBooks Performance
Archive Older Data: If you need to retain older financial data for compliance purposes, consider archiving it in a separate file. This allows you to keep your active company file small while retaining access to historical information.
Regular Backups: Perform regular backups of your QuickBooks company file to prevent data loss in case of corruption or file errors.
Use QuickBooks Enterprise: If your company file continues to grow despite splitting, upgrading to QuickBooks Enterprise, which supports larger file sizes and more advanced features, may be the best solution.
Consider Third-Party Services: If you’re struggling to manage large files or need professional assistance, third-party services like QB Data Service can help you optimize and manage your QuickBooks data. Contact us at +1-888-538-1314 for expert assistance.
Read more: Long-lasting Solutions to fix QuickBooks Error H303
Conclusion
Managing large QuickBooks company files can be challenging, but splitting them into smaller, more manageable files is an effective solution. By following the steps outlined above, you can enhance QuickBooks’ performance, reduce the risk of data corruption, and streamline your financial data management.
If you need further assistance or want expert guidance in splitting your QuickBooks company file, don’t hesitate to reach out to QB Data Service at +1-888-538-1314. We’re here to ensure your QuickBooks runs smoothly and efficiently, no matter how large your company grows!