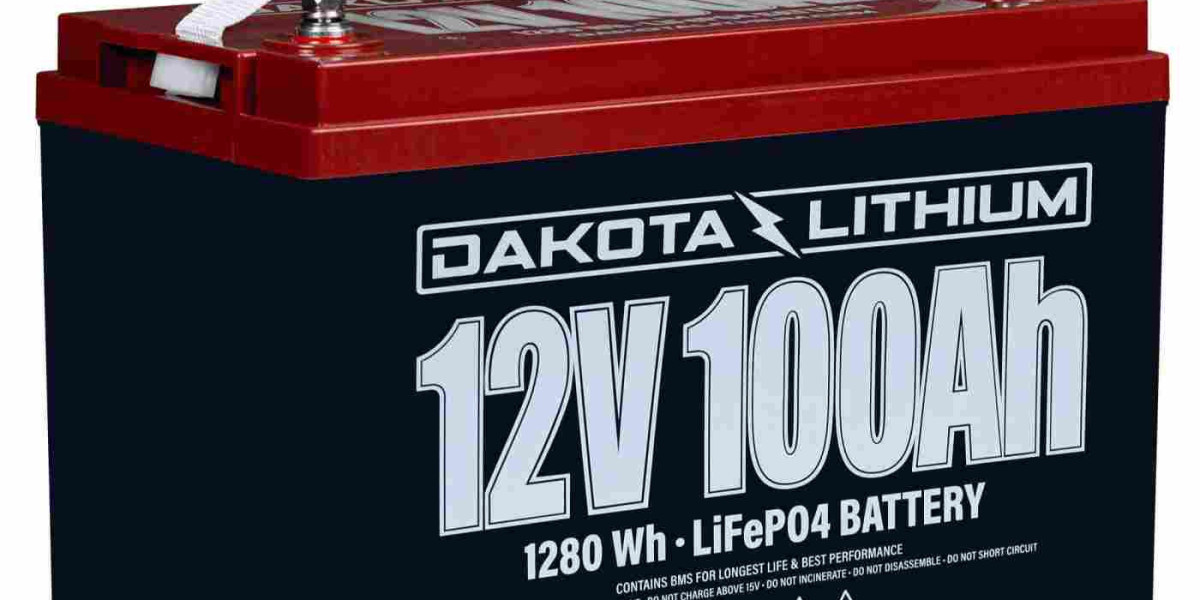
Whether you're gearing up for a long ride on your motorcycle, planning an RV adventure, or setting out for a day of fishing with your trolling motor, one essential component often overlooked is the battery. A well-maintained battery is crucial for a smooth and trouble-free experience. Here's a comprehensive pre-ride battery inspection checklist to ensure your journey starts right.
Visual Inspection
A thorough visual inspection is the first step in battery maintenance for your motorcycle, RV, or trolling motor. Examine the battery casing for any signs of damage, such as cracks or swelling. These can indicate serious issues like a potential leak or an internal short, compromising the battery's performance and safety.
Next, check the terminals. Corroded terminals can lead to poor electrical connections, starting problems or erratic electrical behavior. Clean the terminals using a wire brush and a mixture of baking soda and water to neutralize any acid buildup. Ensure the terminals are tight and secure, as loose connections can cause issues.
Testing Voltage
After a visual inspection, the next step is to test the battery's voltage. A multimeter is a valuable tool for motorcycle, RV, and trolling motor batteries. Set your multimeter to DC voltage and connect the probes to the battery terminals (red to positive, black to negative). A fully charged motorcycle battery should read around 12.6 to 12.8 volts. The reading should be slightly higher for RV and trolling motor batteries, around 12.7 to 13.2 volts.
If the voltage is significantly lower than these values, recharging the battery or considering a replacement might be time. Remember that batteries can also show a good voltage reading while under no load but fail under actual load conditions. Hence, load testing is equally important.
Load Testing
Load testing is critical to ensure your battery can handle its demands during use. For this, you can use a battery load tester, which applies a load to the battery while measuring its ability to maintain voltage.
To perform a load test:
Ensure the battery is fully charged.
Connect the load tester according to the manufacturer's instructions.
When you apply the load, observe the voltage reading.
A healthy battery should not drop significantly under load and should recover quickly once the load is removed. A drop below 9.6 volts under load for motorcycle batteries typically indicates a weak battery. Specific load testing values may vary for RV battery and trolling motor batteries, so refer to the manufacturer's guidelines.
Checking Electrolyte Levels
Maintaining proper electrolyte levels is crucial for lead-acid batteries, including many motorcycle, RV, and trolling motor batteries. Carefully remove the battery caps and check the electrolyte levels. The fluid should cover the plates inside the battery but not be overfilled.
If the levels are low, top them up with distilled water. Never use tap water, as it contains minerals that can damage the battery. Also, always add water after charging the battery, as the electrolyte levels can rise during the charging process. Ensure you follow safety precautions when handling battery acid, as it is highly corrosive.
Charging the Battery
Regular charging is essential for battery longevity. Different types of batteries require different charging methods. For example, motorcycle batteries often benefit from trickle charging, which provides a slow and steady charge, preventing overcharging and extending battery life.
RV and trolling motor batteries from Dakota lithium batteries require more robust charging solutions, such as a multi-stage charger that adjusts the charging rate based on the battery's condition. Make sure to use a charger that is compatible with your battery type. Overcharging can lead to overheating and reduced battery lifespan, while undercharging can result in sulfation, where sulfate crystals form on the battery plates, hindering performance.
Preventive Maintenance
Adopt a routine preventive maintenance schedule to ensure your battery remains in top condition. This includes checking the battery at least once a month for motorcycles, especially during riding season. A more frequent check might be necessary for RVs and trolling motors, mainly if they are used regularly or stored for long periods.
Invest in a good battery maintainer or tender, which can keep the battery at an optimal charge level when unused. This is particularly useful for seasonal vehicles like motorcycles and RVs that may sit idle for extended periods. Additionally, during winter months or long-term storage, consider removing the battery and storing it in a cool, dry place to prevent self-discharge and sulfation.
Final Checklist Before the Ride
Before embarking on any journey, run through a final checklist to ensure your battery is ready:
Visual Inspection: Check for physical damage and ensure clean and secure terminals.
Voltage Test: Confirm the battery is fully charged by testing the voltage.
Load Test: Ensure the battery can maintain voltage under load.
Electrolyte Levels: For lead-acid batteries, ensure proper electrolyte levels.
Charging: Make sure the battery is fully charged and maintained.
Following these pre-ride battery inspection tips can help prevent unexpected battery failures, ensuring your motorcycle, RV, or trolling motor is ready for a smooth and enjoyable ride. Regular maintenance not only extends the life of your battery but also provides peace of mind, knowing that your vehicle will start reliably every time you turn the key.


