When it comes to enhancing the look and feel of your home, one of the most impactful changes you can make is updating your flooring. A new floor can completely transform a space, making it feel fresh and new. However, the process of flooring installation can seem daunting if you're not familiar with the steps involved. This article aims to demystify the flooring installation services, offering clear, easy-to-understand advice that will help you successfully navigate this home improvement project.
Step 1: Choosing the Right Flooring
The first step in any flooring installation process is selecting the right material. Consider your lifestyle, the room’s usage, and your budget when making this decision. Whether you opt for hardwood, laminate, vinyl, or tile, each material has its own set of characteristics and benefits. Make sure to weigh factors like durability, maintenance, and aesthetic appeal to find the best fit for your space.
Step 2: Preparing for Installation
Once you’ve chosen your flooring, preparation is key to a successful flooring installation. Start by measuring the room to determine how much material you will need. It's advisable to purchase a little extra to account for mistakes or unique room features. Next, ensure that the subfloor is clean, dry, and level. Any damage or unevenness in the subfloor can affect the installation and final appearance of your new floor.
Step 3: Removing Old Flooring
Before the new flooring can be installed, the old materials must be removed. This step can vary significantly depending on the type of flooring previously installed. Carpet, for instance, will need to be pulled up, staples removed, and the underpadding taken out. Hard surfaces like old hardwood or tiles might require more tools and labor, involving cutting, prying, and a considerable amount of cleanup.
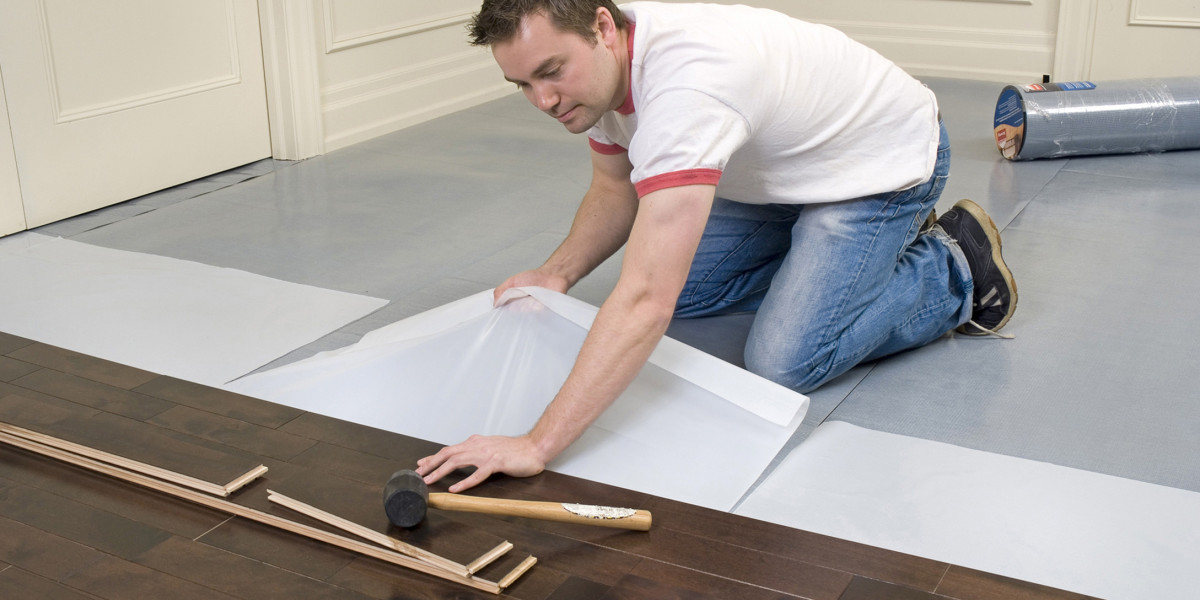
Step 4: Installing the New Flooring
The actual flooring installation process will depend on the type of flooring you’ve selected. For example, laminate flooring typically involves interlocking pieces that are floated over a subfloor, making it one of the simpler flooring types to install. Hardwood, on the other hand, may need to be nailed or glued down, which can be more complex and might require professional assistance.
Step 5: Finishing Touches
After the main flooring installation is complete, it’s time to add the finishing touches. This includes installing baseboards or trim to cover the edges of the flooring, as well as sealing or treating the floor if necessary. These final steps not only enhance the floor's appearance but also protect its edges and extend its lifespan.
Step 6: Maintenance and Care
Once your flooring installation is complete, proper maintenance is crucial to keep your new floor looking its best. Different flooring types require different care procedures. For instance, hardwood floors may need to be periodically refinished, while laminate should be kept dry and cleaned with suitable products to avoid damage.
Conclusion
Installing new flooring doesn’t have to be an overwhelming process. By understanding each step, from selection to maintenance, you can take an active role in transforming your home. Whether you choose to hire professionals or tackle some steps yourself, knowing what to expect during the flooring installation services will help ensure a smooth, successful update to your space.
By following this simple guide, you'll be well on your way to enjoying beautiful, durable new flooring that will enhance your home for years to come.